
’Tis the season to look hair-mazing!
Top stylist Asgar Saboo offers a step-by-step guide to achieving the perfect DIY blow dry.
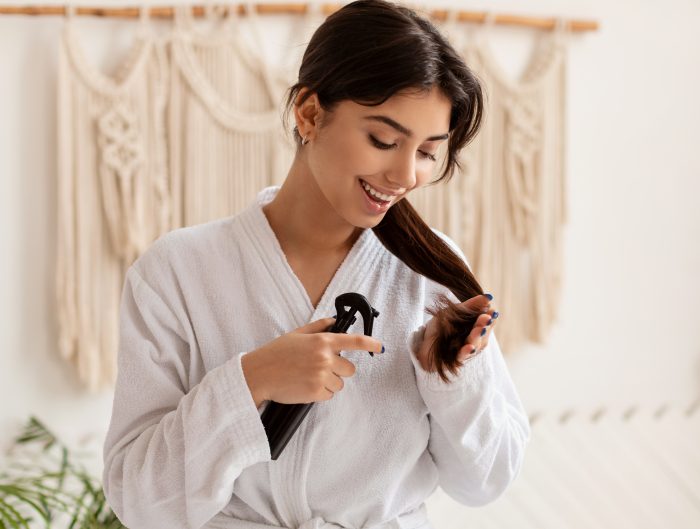
Asgar advises: “To achieve that ‘salon bounce’ at home, it is all about how you use your hair dryer. And always remember to apply some heat-protection spray to avoid damage.”
Equipment, etc:
Essentials: hair-dryer, barrel/spiral brush, large clips for sectioning
Useful: smoothing spray or serum; coconut or Argan oil
1. Prep and perfect

Keep in mind that you will not be able to achieve the sought-after ‘salon bounce’ with damp hair so your hair needs to be thoroughly dry.
After shampooing and conditioning hair, start by towel drying your hair. Once you feel that your hair is towel dry, apply a small amount of either coconut oil or Argan oil, avoiding the scalp otherwise your hair will look greasy. Carefully brush using a detangling brush or a wide toothed comb. Brush or comb gently to avoid damaging your hair. If you have very thick hair, remove a little more moisture by rough-drying for a few minutes but not too much or your hair will go frizzy.
2. Simply section

Once your hair is semi dry, part it into several sections to make blow-drying more manageable. This is especially important if you have thick hair as this will cut down the drying time; you never want to put your hair through too much heat.
Start this sectioning process by creating a horizontal parting along the back of your hair and fasten the top section/s of hair out of the way. Drying the bottom layers first will help ensure all the hair is dried thoroughly.
3. Handle the heat

The nozzle is your best friend when it comes to perfecting this technique, as it allows you to follow the direction of the hair when you are drying it. It’s why it’s called the ‘concentrator nozzle.’
To start off the styling process, take a barrel brush and lay a small section of hair over the top end of the brush; direct the heat from the hairdryer on to your hair and slowly pull the brush along the section of hair. As the brush reaches the end of your hair, gently curl the brush under to ensure that it falls with a soft finish. Blow-drying very curly hair is difficult and could lead to frizz, so it might be better to dry by scrunching and holding your hair under the heat, as this will achieve a professional-looking finish.
4. Va va volume

Velcro rollers are a perfect way of naturally lifting and/or curling your hair. Focusing on the top layers, (particularly for thicker hair), separate small, individual sections. To ensure you don’t buckle the hair, pull the roller along the section from root to ends. When you reach the end of the section, roll the hair round the roller back under itself to the scalp. Now fasten the roller with a grip and give a spritz with a medium hold spray. Once you have secured all the rollers, give a final spray and add some heat, using a low setting on the hairdryer. This sets the curls or movement. Allow your hair to cool completely before carefully unwinding the Velcros.
5. Finished and fabulous

Now your hair is beautifully prepped and dried, the final steps allow you to polish the look as much or as little as you like. Carefully remove the rollers and shake your hair gently but be wary of running your fingers through the curls as this can cause it to look frizzy. Position your hair around your shoulders to frame your face, add a spritz of hair spray and you will look as if you have just stepped out of a top salon.
Can you handle your own hair or do you depend on a salon? Tell us, below.
[su_button url=”http://www.sosensational.co.uk/hair-and-beauty/hair-and-now/” target=”blank” background=”#6c20b1″ size=”7″ center=”yes” radius=”0″ icon=”icon: arrow-right”]See more Hair Blogs[/su_button]
You might also like

Leave A Reply